
If you’ve ever noticed lead interest drop immediately after a form submission or content download, you’re not alone. That early window—when someone first interacts with your brand—is also when most businesses lose momentum. You miss the chance to deliver value, reinforce trust, and guide next steps.
A thoughtfully built welcome email series prevents that falloff. It keeps the conversation going, introduces key resources, and moves new contacts further down your funnel—all without requiring manual follow-ups.
HubSpot makes this automation possible, but many teams struggle with setup. You might wonder where to build the workflow, how many emails is “too many,” and how to make sure the right people receive the right messages.
Or maybe you’ve dealt with issues like duplicate sends or missed triggers.
This guide walks you through creating a HubSpot welcome email series from start to finish.
You’ll learn where to build it, how to configure it properly, which pitfalls to avoid, and how to track results—all using HubSpot’s built-in tools.
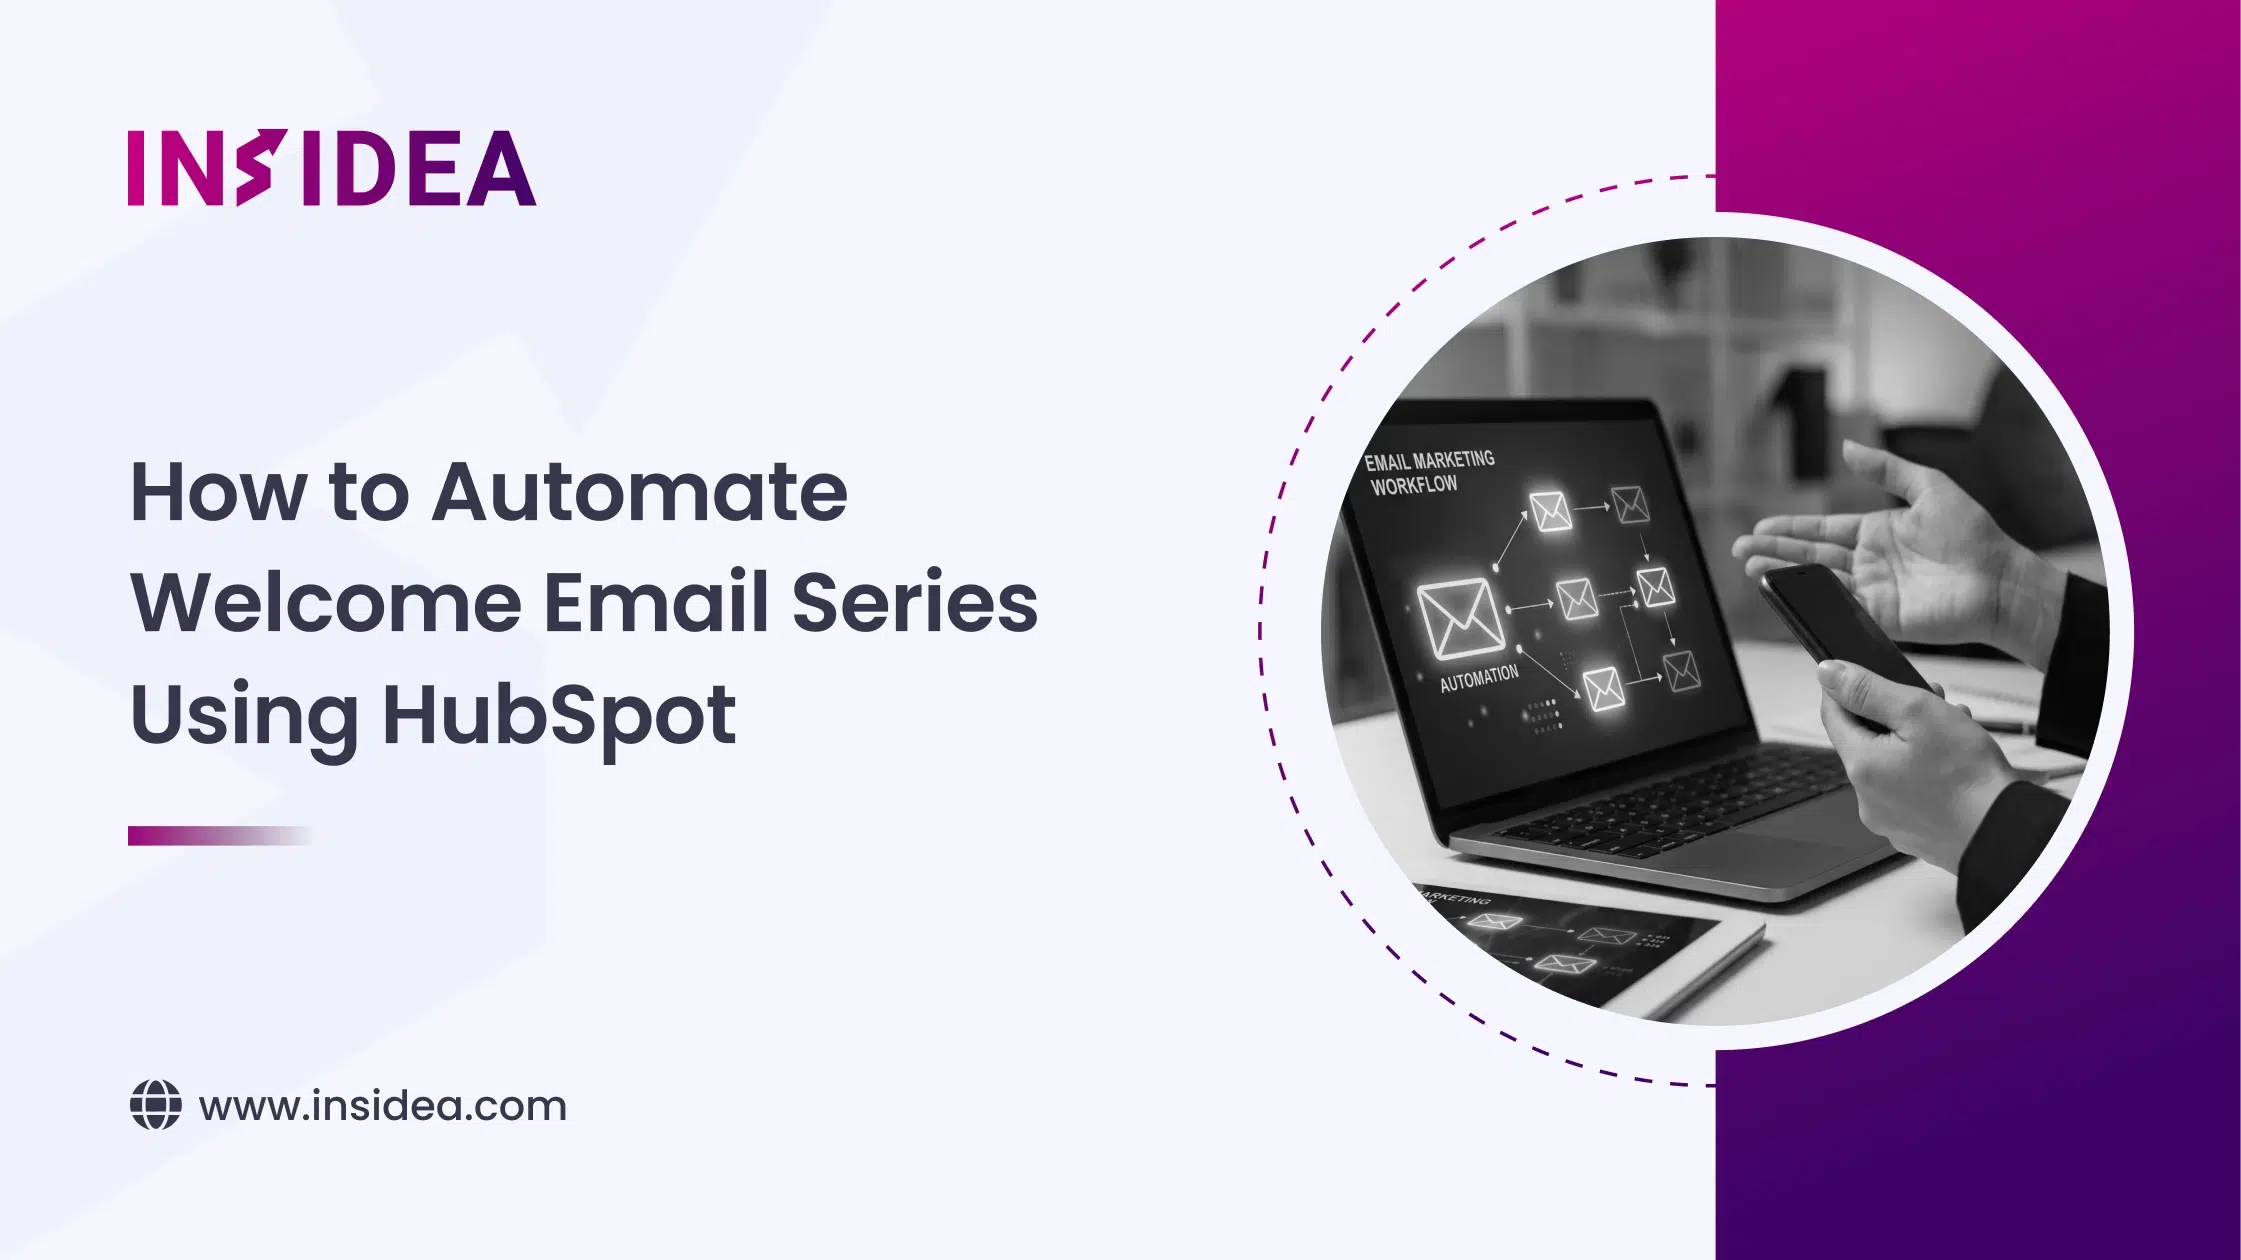
Automating a Welcome Email Series in HubSpot
HubSpot’s workflow automation tool, located in the Marketing Hub, is where your welcome series takes shape.
Here, you can build a tailored sequence of emails that launches as soon as a lead meets specific criteria—usually after filling out a form, subscribing to your newsletter, or becoming a new marketing contact.
To get started, head to Automation > Workflows in your HubSpot account. You can either start from scratch or use a pre-built template, such as “Welcome new contacts”. Either way, the goal remains the same: deliver a timely, consistent introduction to your brand that starts gathering early engagement signals.
Beyond just sending emails, HubSpot workflows allow you to update CRM properties, assign contacts to reps, or trigger other nurture sequences. This turns your welcome email series into a powerful tool for aligning marketing and sales.
You can also tap into HubSpot’s AI features, such as the content assistant inside the email editor. It can help you draft faster, improve subject lines, and personalize content more easily—helpful if you want to move quickly without compromising quality.
How It Works Under the Hood
At its core, a HubSpot workflow runs on four key components: triggers, actions, delays, and conditions. Here’s what that means for your welcome email series:
Trigger (Enrollment Criteria):
This is how contacts enter your workflow. Typical triggers include form submissions (like signing up for a newsletter), changes to lifecycle stages, or becoming a known contact.
Email Actions:
Each step sends a specific email from your existing library. You can include multiple messages, provided your subscription plan supports it.
Delays:
These pauses between emails prevent inbox overload and help pace the experience—for example, one day after signup, then three days, then six.
Branching Logic (If/Then):
Tailor outcomes based on behavior. You could send a different message to someone who clicked a link or opened the last email.
Internal Actions:
Trigger tasks for your team—like assigning a contact owner or notifying sales if a lead engages heavily.
Exit Conditions:
Set criteria to remove contacts from the series. For instance, if someone becomes a Marketing Qualified Lead or unsubscribes, the workflow stops.
Your email assets and contact records drive everything. You’ll also want to configure delay settings, re-enrollment rules, and exclusion lists to avoid redundancy or errors.
Main Uses Inside HubSpot
Welcome Sequences for New Leads
A welcome series is one of the easiest ways to build rapport with subscribers from day one. It lets you set expectations, offer top resources, and nudge them gently toward conversion.
Example:
Say you’re at a software company. A new subscriber fills out your “Newsletter Signup” form. The workflow triggers an immediate thank-you email, then follows up three days later with top blog resources, and one week out with a free demo invitation. Engagement on each can inform future lead scoring or segmentation.
Onboarding New Customers
First impressions matter even more once someone becomes a customer. Automating onboarding ensures they get what they need—without overwhelming your teams.
Example:
A digital training platform uses a workflow triggered by the “Customer” lifecycle stage. The emails walk through login instructions, product setup, and support contacts. If someone doesn’t open a key email, the team can follow up directly—because they now know who’s stuck.
Welcoming Event Attendees
Whether you’re hosting a webinar or an in-person event, automation helps streamline the experience before and after.
Example:
A B2B company uses a registration form as a trigger and sends an automated sequence that confirms attendance, sends a calendar invite, and follows up after the event with slides and key takeaways. It’s smooth, scalable, and removes manual busywork.
Common Setup Errors & Wrong Assumptions
Error: Using the wrong trigger.
If you select a broad trigger like “any form submission” without narrowing it down, you’ll unintentionally enroll contacts from unrelated forms.
Fix: Instead, specify the exact form name, like “Newsletter Signup,” as your criteria.
Error: Forgetting to suppress existing customers.
Nothing says disorganized like sending “Welcome to our brand” emails to people who’ve already bought.
Fix: Add a filter condition such as “Lifecycle stage is not Customer” to prevent this.
Error: Sending all emails at once.
Jamming someone’s inbox with three messages in three minutes is a surefire way to lose trust—and get unsubscribes.
Fix: Space your sends realistically. A cadence of every 2–3 days often works well.
Error: Ignoring re-enrollment settings.
Re-triggering a workflow can result in the same lead getting the same welcome series again—and again.
Fix: Disable re-enrollment unless you’ve got a valid need, like recurring campaigns.
Error: Not marking emails as automated.
If your emails aren’t set as “Automation ready,” they won’t send, even when triggered.
Fix: In each email’s settings, confirm it’s saved and published for automation before launching.
Step-by-step Setup or Use Guide
Before jumping in, confirm you’re using HubSpot Marketing Hub Professional (or higher) and that you have permissions to create workflows and deploy emails.
Plan your series first—including how many messages you’ll send and what their core content will be.
Step 1: Open the workflow tool.
Go to “Automation > Workflows” in HubSpot. Click “Create workflow.”
Step 2: Select workflow type.
For most welcome series, “Start from scratch > Contact-based” works best. Pre-built templates like “Welcome new contacts” offer a faster path if you want a guided setup.
Step 3: Set enrollment triggers.
Add conditions like “Form submission is Newsletter Signup.” Always apply filters to keep entry clean and specific.
Step 4: Create and attach emails.
Use the Marketing Email Builder to draft and publish your emails. Focus on one goal per message—whether that’s introducing your product, sharing resources, or offering next steps.
Step 5: Add actions in sequence.
Use the + icon to add “Send email” actions, inserting pauses with “Delay for 2 days” or similar between each. This shapes your journey and controls pacing.
Step 6: Add any branch logic.
Want to tailor the journey further? Use “If/Then” actions like “Did contact click link in Email 1?” to modify what’s sent next.
Step 7: Define exit conditions.
You don’t want to keep emailing someone who’s already converted. Use exit criteria such as “Lifecycle stage is MQL” to automatically remove them.
Step 8: Review settings and activate.
Double-check all emails are published, limits are in place, and re-enrollment settings align with your goals. When you’re set, publish the workflow.
Measuring Results in HubSpot
Data tells you whether your welcome email series is doing its job—or needs work. You’ll find your tracking tools under Reports > Analytics Tools > Email Analytics, or you can build custom dashboards around workflow performance.
Key metrics to stay on top of include:
- Open rate: Reflects how strong your subject lines and send timing are.
- Click rate: Measures real engagement with the content and CTAs.
- Enrollment count: Tells you how many people are flowing through the series.
- Unsubscribe percentage: Signals if your content isn’t hitting the right tone or frequency.
- Goal conversion rate: Measures how well the sequence supports your chosen end goal, like booking a demo or completing onboarding.
Over time, layer HubSpot CRM insights to understand how your email sequences impact lead qualification, the sales pipeline, and onboarding user activity.
Short Example That Ties It Together
A SaaS business wants more value out of its free trials. It sets up a workflow triggered by “Trial Signup” form submissions.
Here’s how they structure it:
- Email 1 goes out immediately with login credentials and a getting-started video.
- Two days later, Email 2 shares best practices and feature highlights.
- Five days in, a branch checks if the contact has logged in. If not, Email 3 encourages them to activate with tips and support links.
The workflow ends when the contact’s product usage property updates to “Active.”
On review, their HubSpot dashboards show better onboarding completion, stronger engagement rates, and zero duplicate messaging—thanks to filters and suppression in the setup.
How INSIDEA Helps
If setting this up sounds complex, INSIDEA can help. Our experts specialize in building precise, reliable HubSpot workflows tailored to your team’s real-world needs—from marketing to sales and service.
Here’s what we offer:
- HubSpot onboarding: Get your account and workflows configured correctly from day one.
- HubSpot management: Keep your data clean and automation stable over time.
- Automation consulting: Build dynamic workflows that reflect actual customer journeys.
- CRM alignment and reporting: Ensure stakeholders see performance metrics that matter.
- Team enablement: Train your staff to manage workflows confidently on their own.
Whether you’re just starting or need to audit a messy setup, we’re here to make your HubSpot automation work harder for you. Reach out at insidea.com and schedule a time with our specialists.
Start delivering value from the very first email. With the proper HubSpot welcome workflow, you can build trust early, convert leads faster, and stop missing out on prime engagement moments.


